
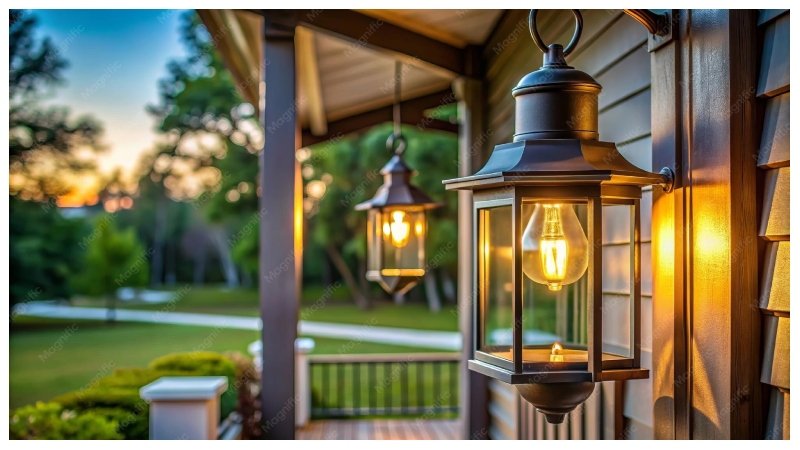
Most homeowners buy outdoor lighting backwards, choosing attractive fittings before deciding what the light must do, and then wonder why the garden is glaring in one corner and pitch black in another. Plan the job first and the fixture second, and the result will be cheaper to run and far easier to live with. Before you shortlist anything, take a look at the designs and approaches offered by Lumos Outdoor Lighting, and you can compare those against the jobs you have in mind.
Key takeaways
- Light the paths, steps, and entrances first; these carry the highest safety value per pound spent.
- Use warm white (2700K to 3000K) for seating areas and garden beds, and avoid cool tones that feel harsh.
- Motion sensors suit security lights; timers or photocells suit decorative and path lighting.
- Choose IP65 or higher for fixtures exposed to rain, and check the rating before purchase.
- Plan circuits and cable runs before digging, because moving them later is the costliest mistake.
Start with the jobs the light needs to do
Outdoor lighting serves three purposes: safety, security, and atmosphere. Each one calls for a different fitting, angle, and brightness, and mixing them without a plan is how you end up with glare from one fixture and dark corners beside another. Good planning also keeps the wider home project on track, and a practical overview such as Upgrade Tricks LLBlogHome: Practical Home Improvement Tips can help you sequence outdoor work alongside other improvements.
Walk the property after sunset with a notepad. Mark every place you need to see clearly, such as the front door, the bin route, the gate latch, and the bottom step. Those are your priority points. Decorative lighting for trees, walls, or a patio comes second, and you can add it in stages.
The priority list also tells you where not to spend. A decorative uplight on a far corner of the lawn can wait a year, while a dark bin route is a daily tripping hazard that should be fixed this season.
Choose fixtures by location and rating
The IP rating tells you how well a fitting resists dust and water. IP44 suits sheltered porches. IP65 handles rain and hose-down cleaning. Anything buried in lawns or set into paving needs IP67 or better, because standing water will find any gap in a cheap seal.
Color temperature matters as much as brightness. Cool white at 4000K and above looks clinical against brick and timber. Warm white around 2700K to 3000K flatters plants and faces, and it draws fewer insects than blue-heavy sources do. If you are also rethinking the indoor palette so the two feel connected, Interior Design DrHomey: Practical Ideas to Create a Comfortable and B offers useful ideas on warm, comfortable tones.
Match the fitting to its position as well as its rating. A wall-mounted downlight aimed at the path gives a clean pool of light with little spill, while a ground spike placed too close to a fence throws hard shadows across the boards.
Sensors, timers, and what each one costs you
Motion sensors are excellent for side gates and driveways, where a sudden light deters an intruder and saves energy when nobody is there. They are poor for the paths you walk every evening, because you end up waving at them. Set the sensor to trigger only within a few meters and use a short run time of 30 to 60 seconds.
Timers and dusk-to-dawn photocells suit decorative and pathway lighting. Take ten 5-watt LED path lights left on for six hours a night:
- Total load: 10 × 5 W = 50 W
- Daily energy: 50 W × 6 h = 300 Wh, or 0.3 kWh
- Yearly energy: 0.3 kWh × 365 = about 110 kWh
- Yearly cost at 25p per kWh: 110 × £0.25 = about £27
The running cost of path lighting is modest. Leaving floodlights on all night would multiply that figure several times over, which is why the timer setting matters more than the fitting price.
Plan cable runs and power before you dig
Most failed outdoor lighting schemes fail on the cabling, not the fittings. Low-voltage systems, usually 12V, run safely from a transformer and need thinner cable, but voltage drops along long runs. Keep any single run under about 15 meters, or use a heavier cable gauge to avoid dim fittings at the far end.
Mains-voltage work must be done or checked by a qualified electrician, and an RCD-protected circuit is essential for any outdoor socket or fitting. Lay ducting while the ground is open so you can add cable later without lifting paving. This is the single most useful step you can take, and it costs little at the time of building.
Warning: do not run mains cable through shallow soil or unprotected conduit near plant beds. Damaged insulation can cause electric shock or start a fire, and if the fault is traced to unqualified work, it may breach building regulations and void your insurance.
Where to source and how to compare
When you compare suppliers, check the IP rating, lumen output, warranty length, and whether spare parts are sold separately. A fitting that cannot be repaired after three years is a poor buy even if its price looks low. Bring your priority-point list when you browse so you can check each product against the exact job it has to do.
Once the main lighting is in, refine the look of the home as a whole. Sensible sequencing matters, so finish the cabling and safety work before any decorative finishes go on.
Keep the scheme safe, efficient, and easy to maintain
Clean lenses and sensors twice a year, because dirt and cobwebs reduce output and can stop a sensor triggering. Check seals after storms and replace any fitting that fogs inside, since moisture is the usual cause of early failure. Label every circuit at the consumer unit so anyone can isolate a fault quickly.
Careful planning pays off in a scheme that lights the places that matter, costs little to run and lasts. Start with the safety points, buy by rating rather than price alone, and lay ducting now so future changes are simple. Skip that step and you will be digging up finished paving to add a single light, which is the expensive rework most homeowners end up paying for.